
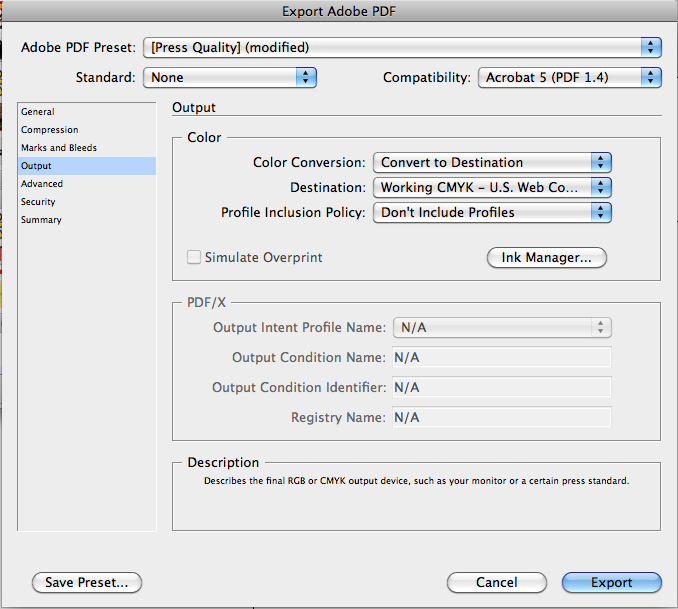
Note: In any design program used the file must be CMYK unless you are using spot colors.
Output > Convert to Destination > Working CMYK
If your file is spot/PMS colors:
Output > No Color Conversion
Adobe Indesign:
![]()
File > Export >
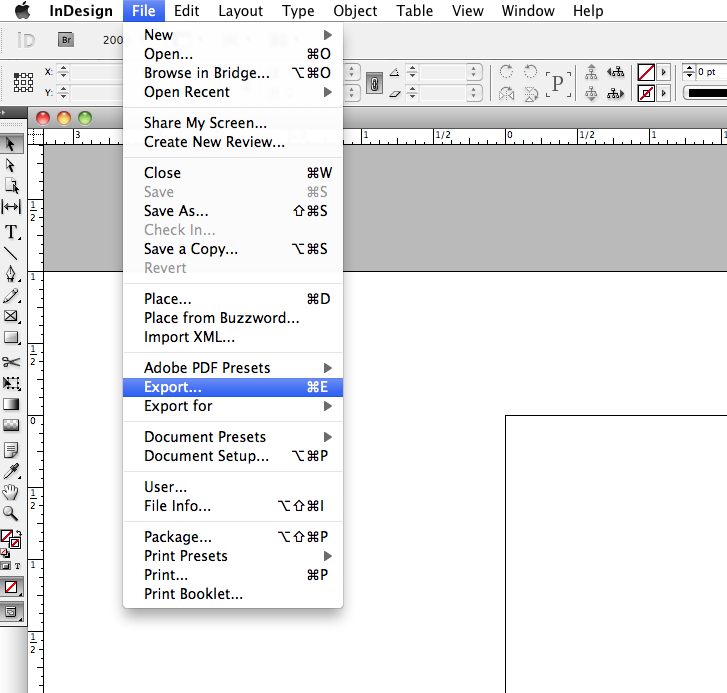
Adobe PDF Presets > Select “Press” from the drop down menu.
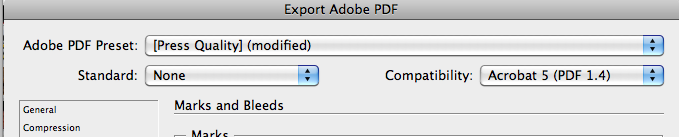
Click Marks and Bleed on the left side of the Print dialog box.
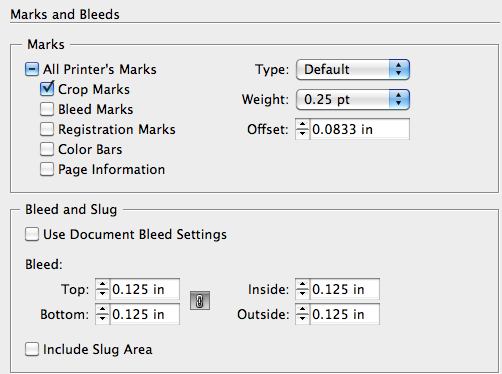
Select either All Printer’s Marks or individual marks.
In the Bleed and Slug section > Create 1/8 inch bleeds on all sides
Click Export
Adobe Illustrator:
![]()
File > Export >
Adobe PDF Presets > Select “Press” from the drop down menu.
Click Marks and Bleed on the left side of the Print dialog box.
Select either All Printer’s Marks or individual marks.
In the Bleed and Slug section > Create 1/8 inch bleeds on all sides

Click Export
Adobe Photoshop:
![]()
Using Adobe Photoshop to create your PDFs is always a bad idea. Save your file as a .Tiff with extended bleeds and import that Tiff into Adobe Illustrator or preferably Indesign and follow the appropriate steps above.
If you have any other questions or would like additional tips feel free to send us an email.
Recent Posts
 13 May 2014Printing Plus has received the 2014 Key Largo Business Award
 04 Nov 2013Free Fishing Rulers / Stickers
 17 Jan 2013Local Printed Mesh Banners
 19 Oct 2012Custom Printed Envelopes
 16 Oct 2012New Window Graphics Installed at Printing Plus